
The 2011 Prius remains a marvel of efficiency, yet maintaining its 1.8L engine requires precision regarding the 4.4-quart lubricant volume. I have found that sticking to the 0W-20 specification is the most effective way to preserve that signature fuel economy we all value.
Ignoring the exact 2011 prius oil capacity during a DIY session often leads to messy overfills or compromised engine protection. I will guide you through the technical requirements and the specific tools needed to ensure your hybrid continues to run flawlessly for years to come.
- Determining the Specific 2011 Prius Oil Volume and Viscosity Requirements
- Gathering the Necessary Equipment for a Successful Hybrid Maintenance Session
- Executing the Drain and Refill Process with Precision and Care
- Managing the Maintenance Cycle and Monitoring Engine Health over Time
Determining the Specific 2011 Prius Oil Volume and Viscosity Requirements
The 2011 Prius requires 4.4 quarts of 0W-20 full synthetic oil including a filter change. This 1.8L engine relies on this low-viscosity lubricant to maintain fuel economy and protect internal components during frequent hybrid cycles.
The volume remains a fixed technical requirement, specifically for the standard 1.8L powertrain found in this generation.
Quantifying the Exact Capacity for the 1.8L Powertrain
The 2ZR-FXE engine demands exactly 4.4 quarts when you replace the filter. This specific volume ensures the hybrid powertrain operates within its designed thermal and lubrication parameters for peak performance.
For international owners, this translates to 4.2 liters. Without a filter change, the volume drops slightly, but I always recommend doing both.
Overfilling is a genuine risk. It increases crankcase pressure, which negatively impacts the hybrid system’s efficiency and can lead to long-term seal issues.
Evaluating the Role of 0W-20 Synthetic Viscosity
I believe 0W-20 full synthetic is the only real choice for this car. It effectively manages the constant engine starts and stops typical of hybrid driving. Traditional oils simply cannot keep up.
Thin oil reduces internal friction during cold starts. This improves fuel economy right when the engine is most vulnerable.
Only use 5W-30 if 0W-20 is unavailable. Switch back at the next change to maintain protection levels.
Distinguishing Between OEM and Aftermarket Filtration Options
Comparing Toyota genuine filters to cheap alternatives reveals a gap. The cartridge system requires absolute precision. I have seen aftermarket units leak at the seals far too often.
Pay close attention to O-ring quality during installation. A pinched gasket leads to a massive mess under the car. Stick to high-end brands if you decide to skip OEM.
Saving five dollars on a filter isn’t worth a blown engine.
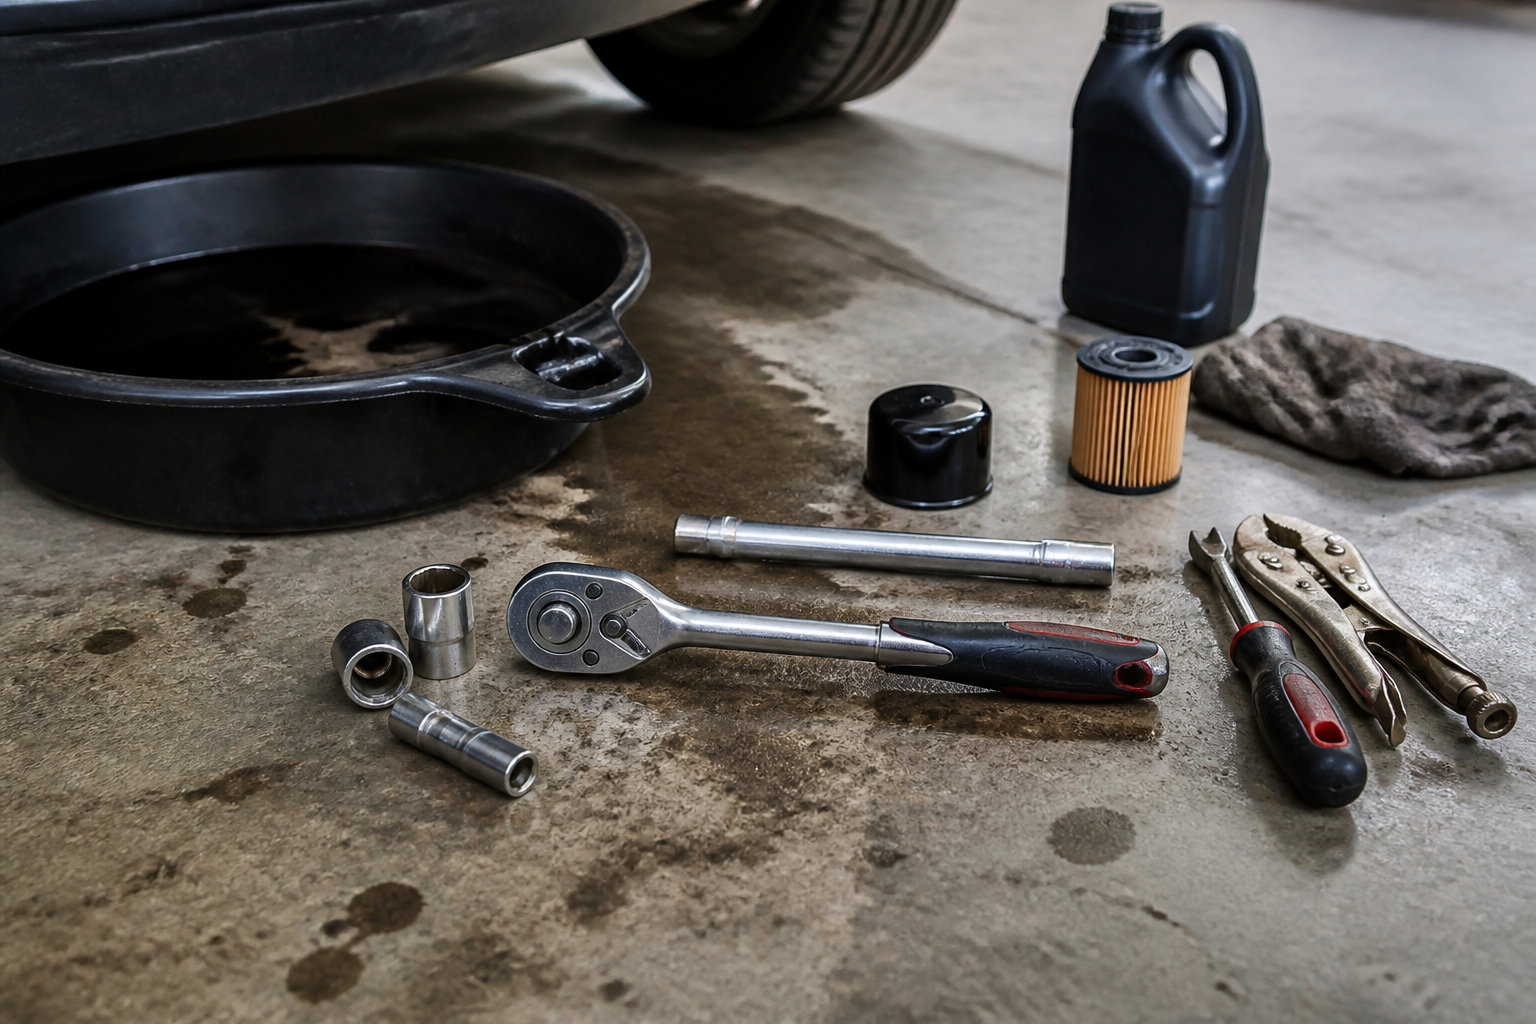
Gathering the Necessary Equipment for a Successful Hybrid Maintenance Session
Getting the specs right is just the start, as you won’t get far without the specific tools designed for Toyota’s cartridge housing.
Selecting the 14mm Wrench and Cartridge Removal Tool
Identify the 14mm wrench for the drain plug. A socket wrench works best here. Avoid using adjustable wrenches that round off bolts.
The 64mm oil filter tool is a specialized cap mandatory for the plastic housing. Without it, you will likely crack the expensive assembly.
Preparing the Workspace for Safe Vehicle Elevation
Locate the front crossmember for floor jack placement. Never lift by the oil pan or radiator support.
Place jack stands under the side frame rails. Safety is vital when sliding under a heavy hybrid. Never trust a hydraulic jack alone.
The high-voltage battery is safe during this job. Just keep the ignition off and keys away from the dash.
Organizing Supplies for a Mess-Free Fluid Exchange
Grab shop towels and nitrile gloves. Oil changes are inherently messy without proper prep.
Prep the new gaskets by coating them in fresh oil. This ensures a perfect seal during installation.
Use a dedicated funnel for the refill. The Prius engine bay is tight and spills often reach the alternator. Keep everything clean to spot future leaks easily.
| Item | Specification/Size | Purpose |
|---|---|---|
| Drain Plug | 14mm | Oil drainage |
| Filter Housing | 64mm/14-flute | Cartridge access |
| Engine Oil | 0W-20 Full Synthetic | Lubrication |
| Crush Washer | Single-use aluminum | Leak prevention |
| Jack Points | Front crossmember | Safe lifting |
Executing the Drain and Refill Process with Precision and Care
Once your tools are laid out and the car is secure, it is time to get your hands dirty with the actual fluid swap.
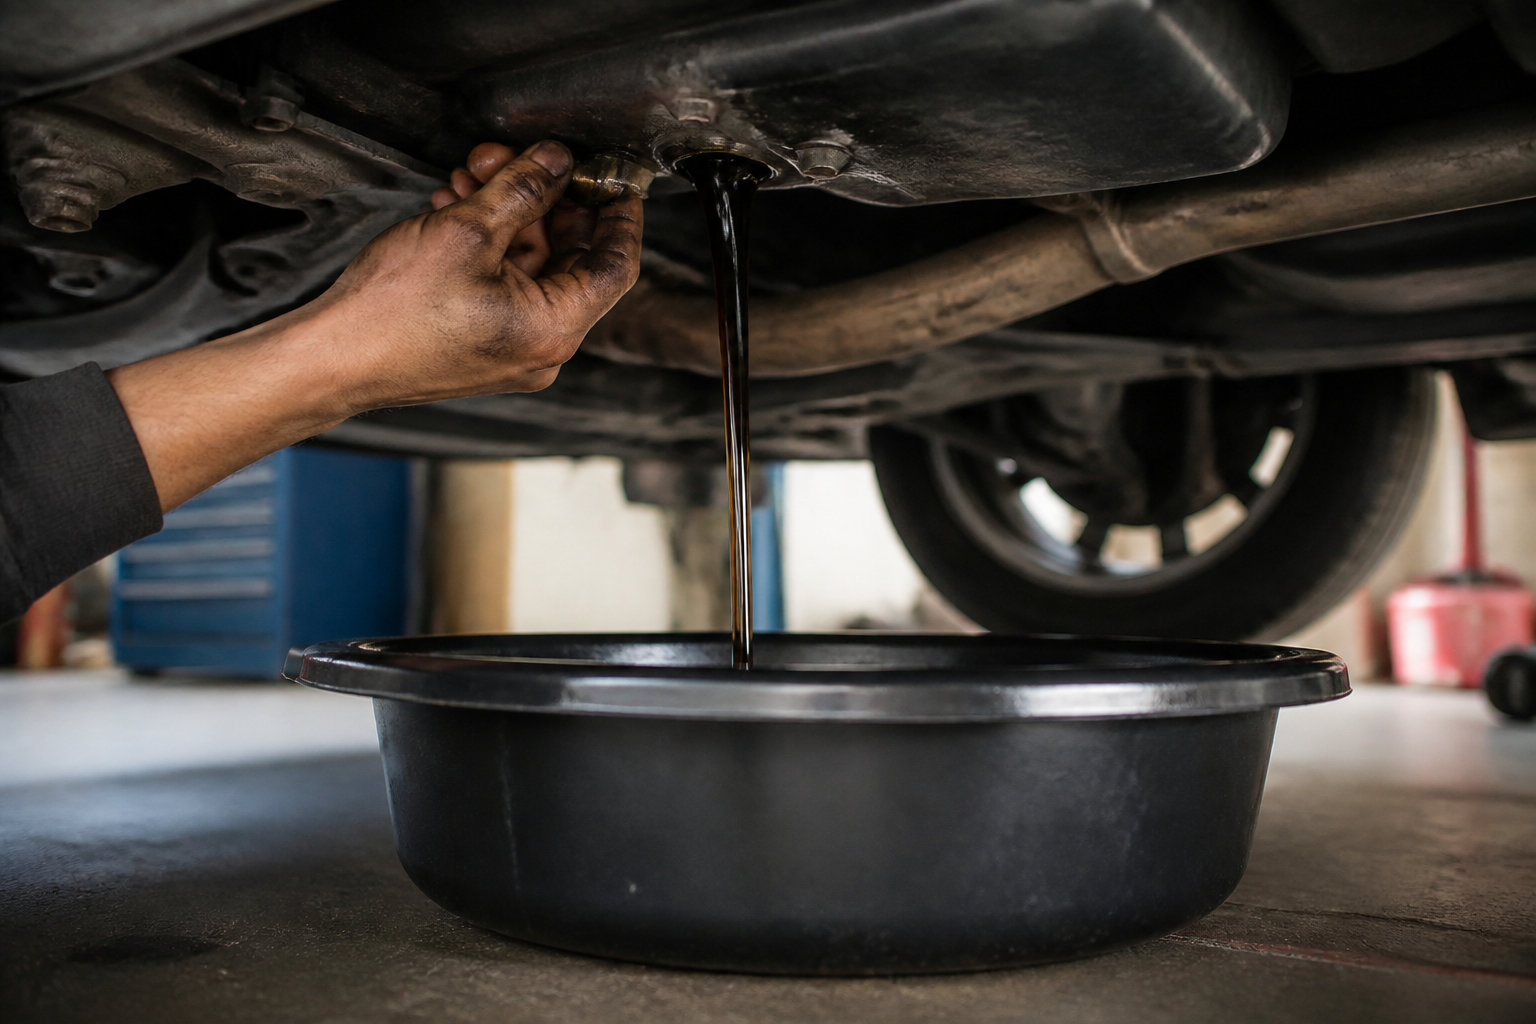
Accessing the Drain Plug and Managing the Cartridge Housing
Pop the plastic access panel under the engine. It uses simple clips that often get brittle. Be gentle to avoid breaking the shield. Now, position your drain pan.
Unscrew the 14mm bolt. Let the old oil flow until it turns into a slow, steady drip.
Use the special tool on the filter cap. If it is stuck, apply steady pressure.
Installing the New Filter with Correct Torque Settings
Slide the new O-ring into the housing groove. Do not twist it or it will surely leak.
Tighten the housing to 18 foot-pounds. Over-tightening is a common mistake that ruins the plastic threads. Use a torque wrench for accuracy.
Reinstall the drain plug with a new crush washer. This small aluminum ring prevents annoying drips.
Validating the Final Oil Level Using the Dipstick
Pour 4.4 quarts into the top fill port. Use a clean funnel to avoid debris. Close the cap tightly before starting the hybrid system.
Run the engine for one minute. This fills the new filter completely.
Check the dipstick after the car sits. The oil should sit between the two dots. Add a splash more if it looks low on the 1.8L scale.
- Remove access flap
- Drain oil and remove housing
- Replace O-ring and filter element
- Torque plug and housing to spec
- Refill and check level
Managing the Maintenance Cycle and Monitoring Engine Health over Time
With the fresh oil circulating, the final steps involve updating the car’s computer and planning for the next service interval.
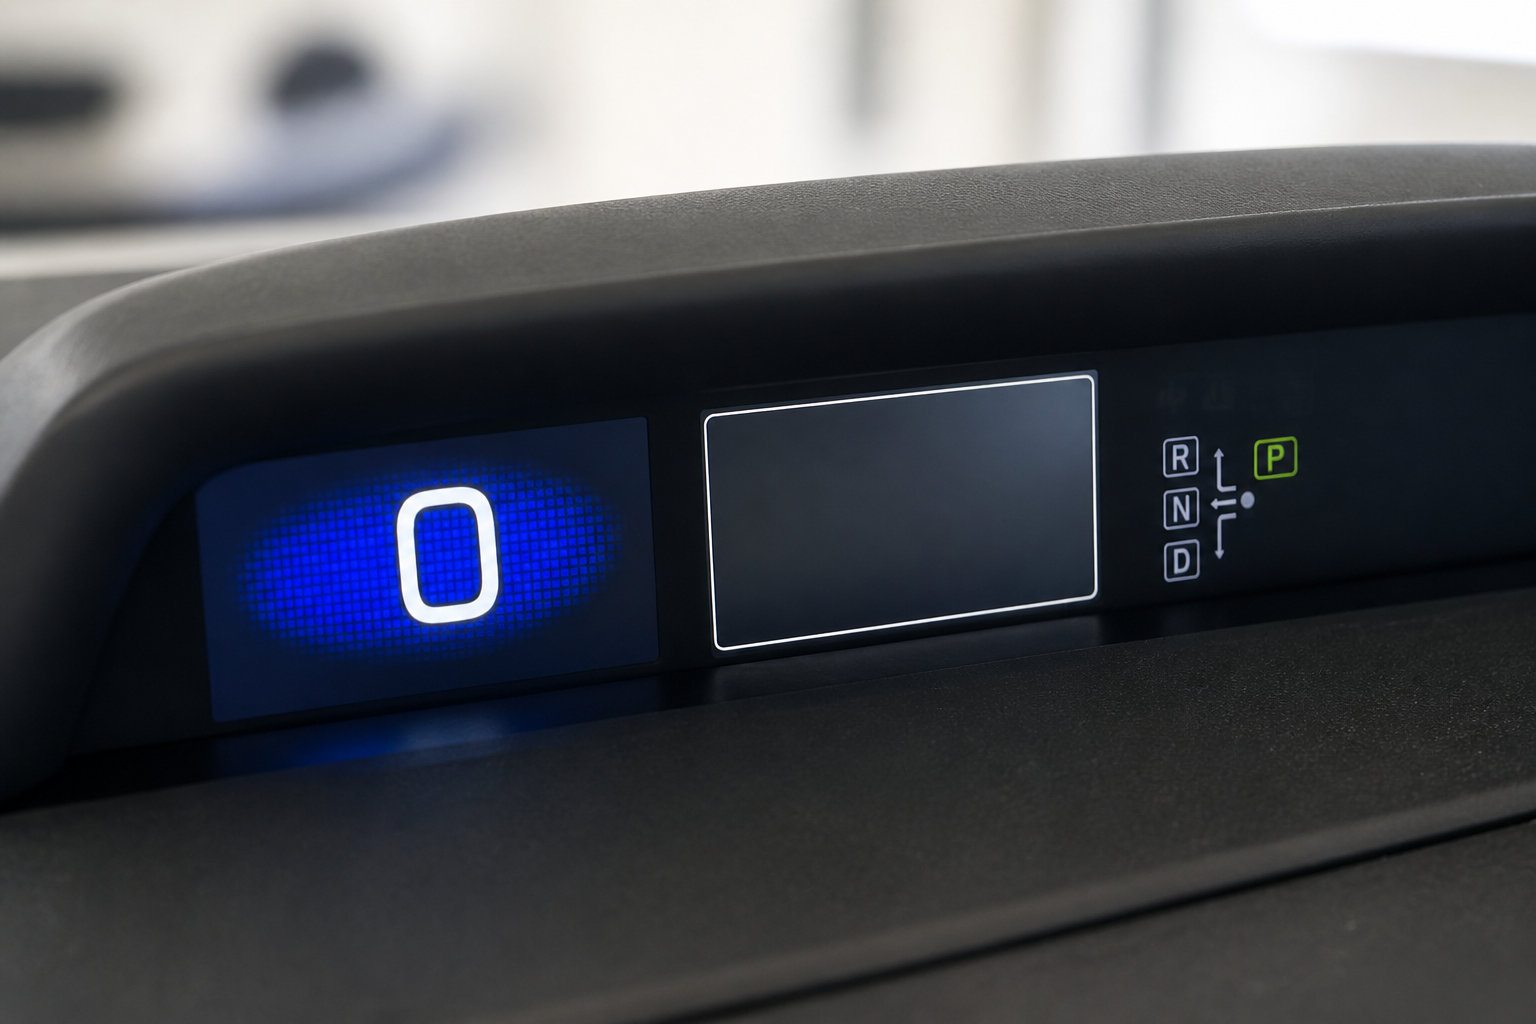
Resetting the Dashboard Maintenance Light Manually
Set the display to Trip A. Turn the car off. Hold the MPH button while pressing Power twice without hitting the brake.
Watch the resetting bars on the screen. The “Maintenance Required” light will disappear once the process finishes.
Confirm the success message appears. Now the car knows it has fresh lubricant for the next cycle.
Adjusting Service Intervals Based on Specific Driving Habits
Toyota suggests a 10,000-mile interval for normal use. But city driving is much harder on the oil. Frequent short trips prevent the engine from reaching operating temp. This leads to moisture buildup.
Switch to 5,000 miles for severe conditions. Extreme heat or dusty roads degrade synthetic oil much faster than usual.
High-mileage 2011 units benefit from shorter cycles. It keeps the piston rings clean and functioning properly.
Recognizing Signs of Oil Consumption in Older Models
The 1.8L engine is known for oil consumption as it ages. Check the level every 1,000 miles. Don’t wait for a warning light to appear.
Look for blue smoke or soot. These signs suggest the engine is burning through its supply.
Dispose of used oil at a local recycling center. Never dump it in the trash or down a drain for environmental safety.
Mastering the 2011 prius oil capacity is vital for your hybrid’s longevity. By filling 4.4 quarts of 0W-20 and installing a fresh filter, you ensure peak efficiency. Act now to protect your engine; a well-maintained Prius promises thousands of miles of smooth, eco-friendly driving ahead.